
Where do I create and manage email accounts?
Step 1: Log in to your taxPRO Customer Account to create email addresses and manage your staff email accounts. You may log in by visiting https://store.taxprowebsites.com/clientarea.php.
Step 2: Go to My Account > My Services and select your email hosting plan. If you don't see an email hosting plan please contact support so we can add it.

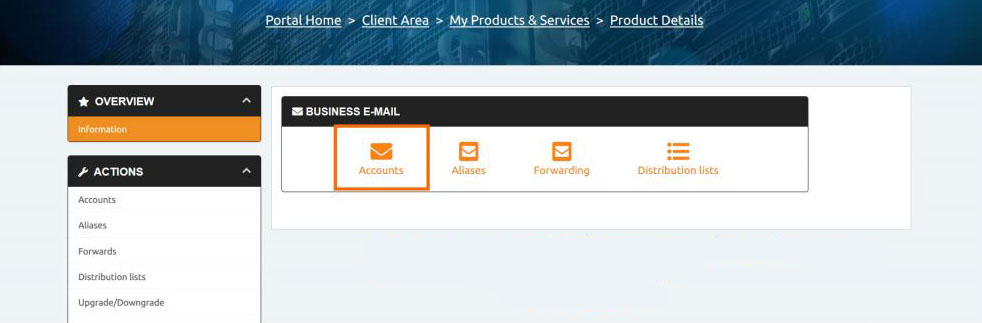
Step 3: Press on your active email service, then press Accounts.
Adding Email Accounts
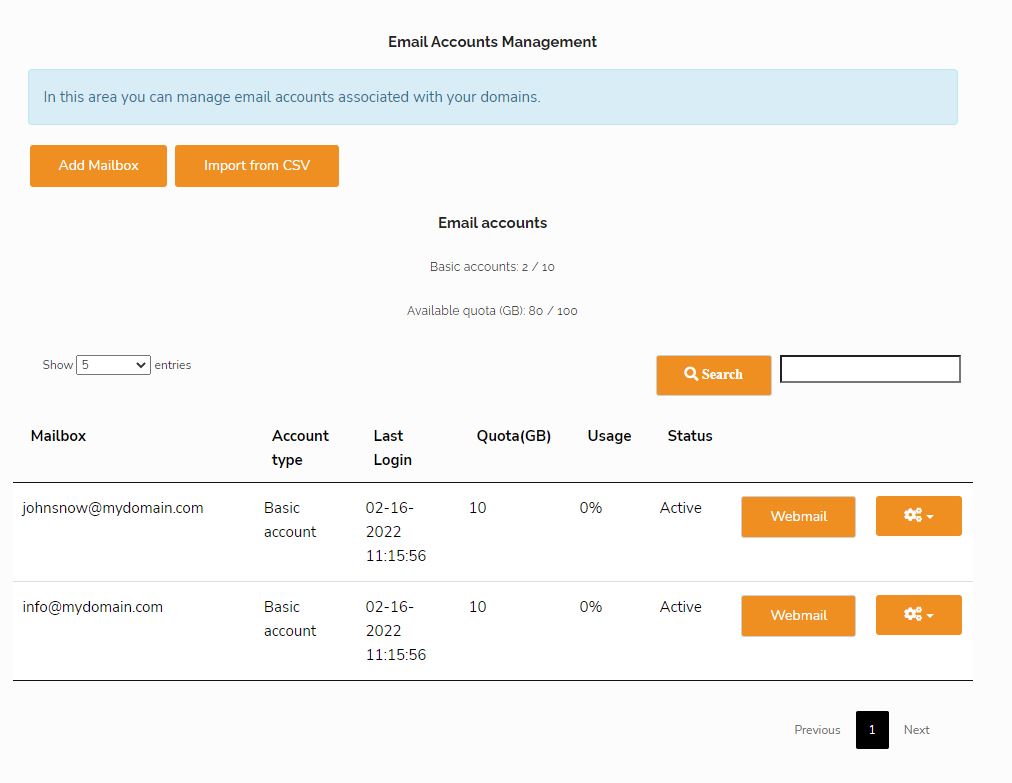
Step 1: To create new mailboxes. Press Add Mailbox.
Step 2: Type in a username, password, and the full name of the user, for the mailbox you wish to create.
Step 3: Save.
You may only add as many mailboxes as your email plan allows. You may import email accounts from a CSV if you need to add multiple email addresses at once. If you need more email addresses, contact us or use the ‘Upgrade’ feature for your subscription.
Manage Email Accounts
Next to each mailbox, you will see a settings button with the following options to manage the box:
Manage: This allows you to change the mailbox password.
Control Panel: This gives access to features for that user (Spam Controls, Archive and Whitelists). The user may also access this in their webmail. This is most helpful for tracking emails sent by that user, checking for spam, etc.
You can Enable, Disable and Delete accounts from this menu as well.
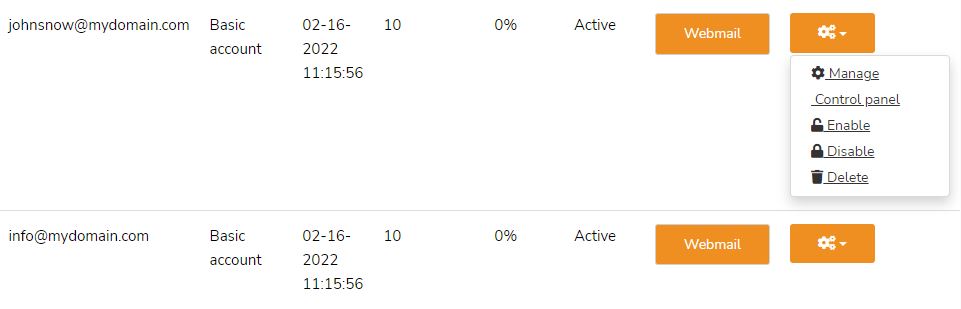
Webmail
Click to access that user's webmail. This is specific to administrators… the owner of the main account.
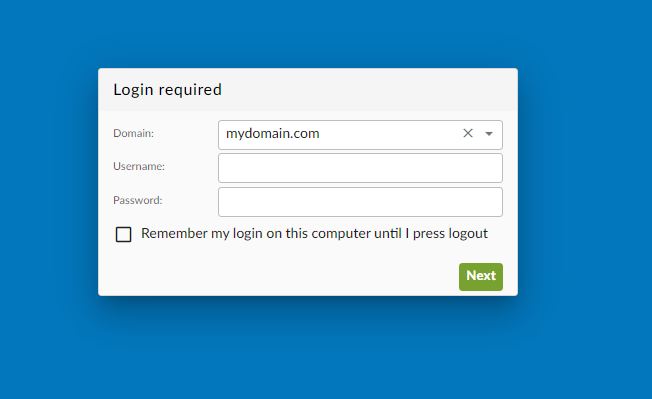
How do my staff log in to the web-based email?
Your staff may visit your unique web portal to log in and use their email.
Step 1: In the address bar visit http://webmail.YourDomainName.com (EXAMPLE: if your website domain is joestaxes.com, then go to https://webmail.joestaxes.com)
Step2: Type in the username and password of the email that you wish to log in to (NOTE: Username is only the first half of the email address. So, if you are tim@joestaxes.com, use tim as the username).
I'm using email software on my devices. What are the settings needed?
Outlook, Windows Mail, Apple Mail, Thunderbird, or any other email software.
In your email software, add an account and input the following settings.
Email Settings
Select manual or advanced setup in your email software.
You may use IMAP or POP3. For mobile devices, we recommend using IMAP.
| IMAP Settings (Incoming) | POP3 Settings (Incoming) | SMTP Settings (Outgoing) |
|---|---|---|
|
Server: imap.emailarray.com Port: 993 Encryption: SSL/TLS |
Server: pop.emailarray.com Port: 995 Encryption: SSL/TLS |
Server: smtp.emailarray.com Port: 465 Encryption: SSL/TLS |
What is the difference between POP3 and IMAP?
POP3
One-way email synchronization.
Emails are downloaded/removed from the server and placed onto your machine. POP3 was originally designed to be used on one machine but you can set your client to leave a copy of emails on the server.
IMAP
Synced across multiple devices.
Ideal if you wish to check email on multiple devices. Emails will be synced across all of your devices and will only be removed from the server if you delete the email.
Add an email account to Outlook
Step 1: Open the Outlook application and select File > Add Account.
Step 2: On the next screen, enter your email address, select Advanced options, then check the box for Let me set up my account manually and select Connect.
Step 3: Select your account type. Most of the time when you need to use this option, you'll select IMAP.
Step 4: The Account settings screen should be pre-populated with most of the account settings you need. However, if you need to look up your settings, see the POP and IMAP account settings topic. Enter your incoming and outgoing server settings and then select Next.
Step 5: Enter your password and then select Connect.
If you are unable to connect, double-check the account settings. 99% of the time the issue is a simple typo or entering a wrong setting.
Add an email account to Thunderbird
Use manual setup to add a POP or IMAP email account in Thunderbird for Windows. You can use these instructions to add a POP or IMAP account to Thunderbird.
Step 1: Open the Thunderbird application and open the Account Settings: In the Thunderbird menu bar, click the menu and select , or click the Application menu button  and select and from the sub-menu.
Step 2: At the bottom of the left pane, click the Account Actions button and select Add Mail Account.
Step 3: Enter your email account details and press Continue. Thunderbird will try to determine your account settings based on the domain portion of your email address (that is, the portion after the "@" symbol).
Step 4: Press Manual Configuration and edit the server names, ports, and IMAP/POP to manually set up the account. See the POP and IMAP account settings. Click Re-test to test your manual settings; there should be a quick response indicating the settings are valid. If not, press the Stop button to abort the lookup, then edit the server names, ports, and IMAP/POP and click Re-test again.
Step 5: Save.
